
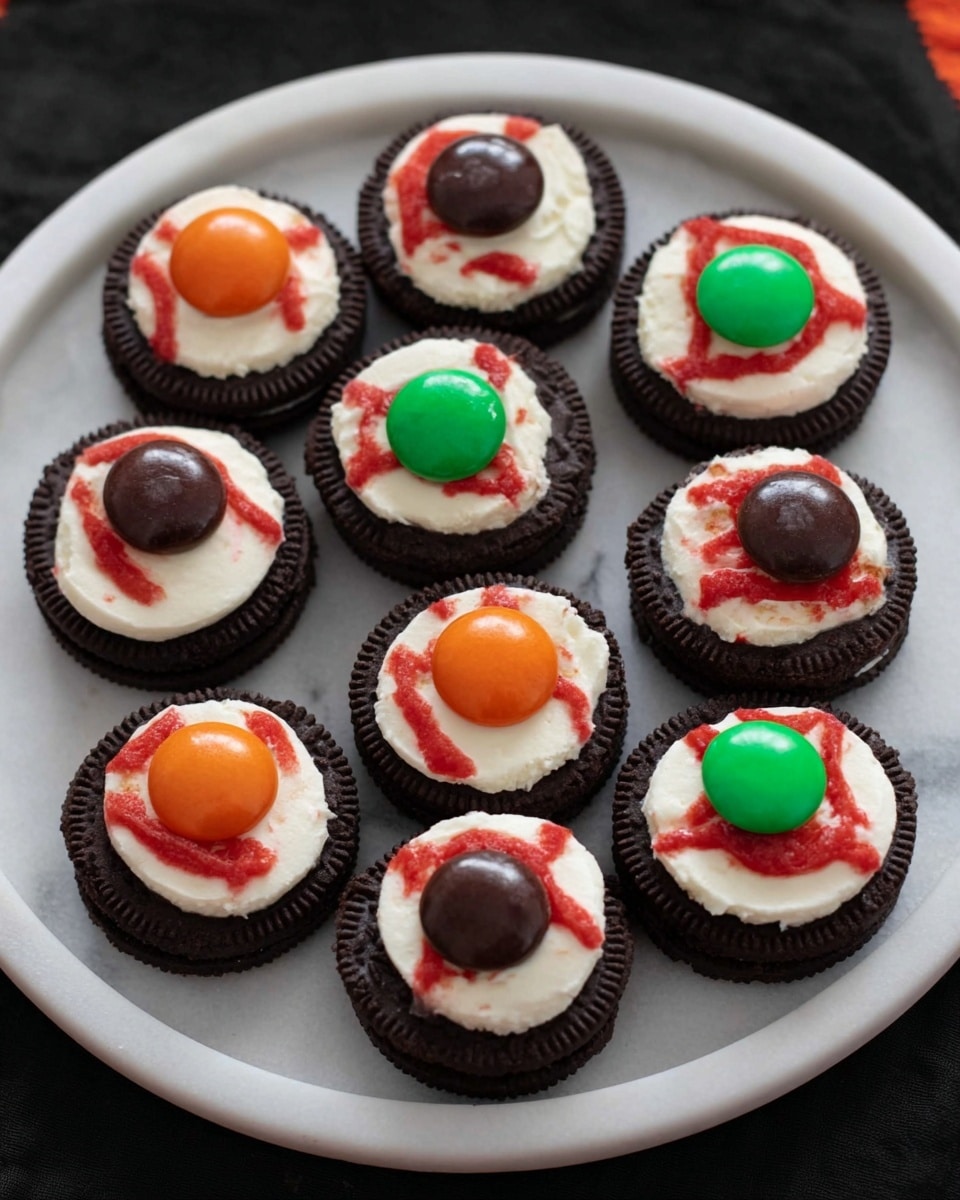
Oreo Eyeballs Halloween Treats Recipe
If you’re looking for a seriously fun, spook-tacular treat this Halloween, you absolutely need to try my Oreo Eyeballs Halloween Treats Recipe. These little creepy-cute eyeballs are shockingly easy to make, super kid-friendly, and make the perfect conversation starter at any Halloween party. Let me walk you through how to turn simple Oreos and a few store-bought candies into creepy eyeballs you’ll love showing off—trust me, everyone oohs and aahs every time I bring these out!
Why This Recipe Works
- Simplicity meets spooky: With just a handful of ingredients, you get a jaw-dropping Halloween-themed treat without stress.
- Ingredient synergy: The crunch of Oreos combined with chewy gummies and sweet melting chips makes every bite fun and textured.
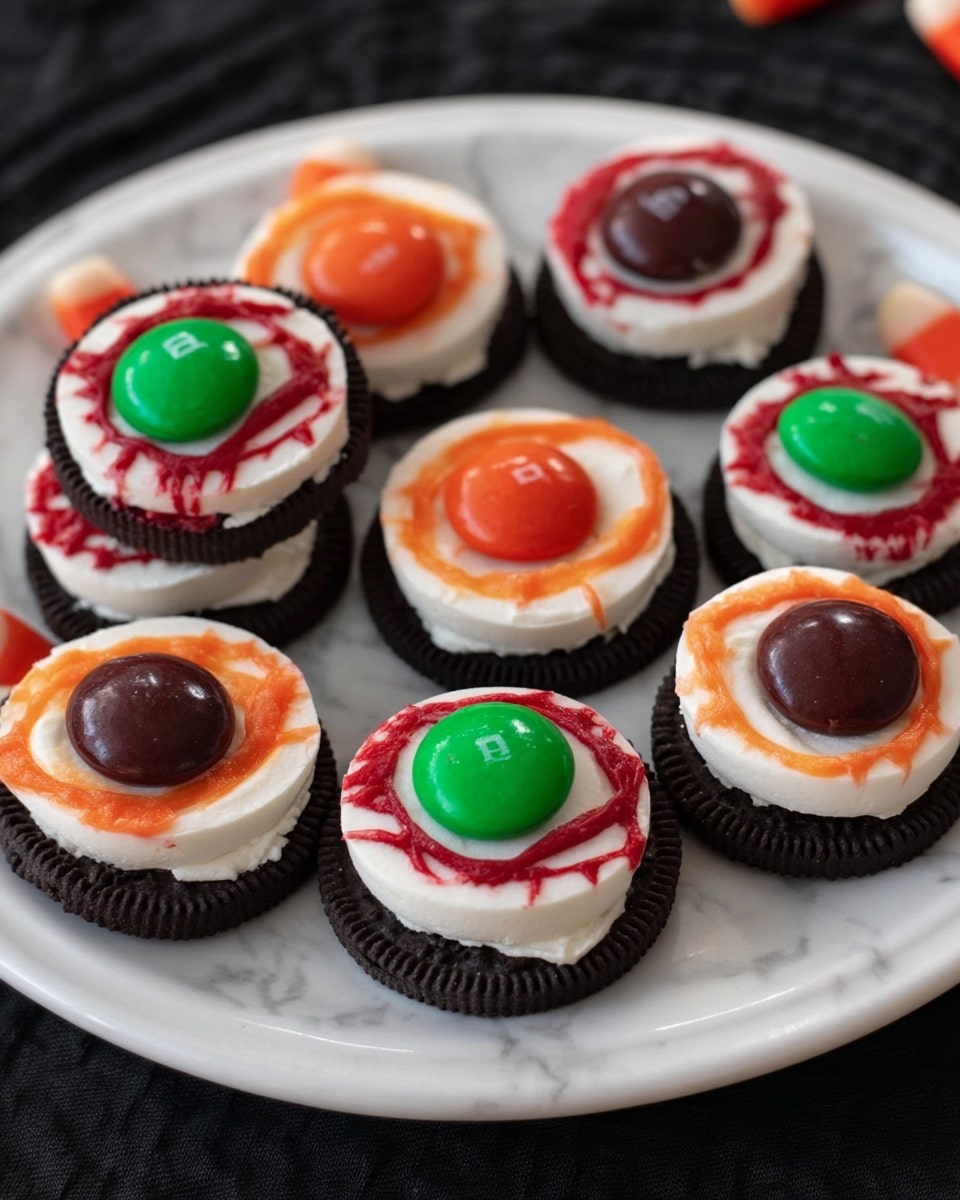
- Visual WOW factor: The red “bloodshot” details piped on with candy melts add realistic creepiness that delights both kids and adults alike.
- Quick chill time: Just 10 minutes in the fridge sets them perfectly, so you can serve fresh eyeballs in no time.

Ingredients & Why They Work
The magic of the Oreo Eyeballs Halloween Treats Recipe lies not just in the spooky look—each ingredient plays its part in taste, texture, and ease. And since you probably have these candies on hand or easy to find, it makes getting ready to craft these eyeballs a breeze.
- Oreos: The classic black-and-white cookie forms the perfect eyeball “sclera” with a firm structure and sweet crunch.
- Life Saver Gummies: They bring vibrant color and chewy texture—plus they look just like irises when you pop them on!
- Chocolate Chips: Small and flat, they make excellent “pupils” to give your eyeballs character and depth.
- Red Candy Melting Chips: These melt smoothly and pipe nicely to create the creepy “blood vessels”—plus they harden well for a lasting effect.
Tweak to Your Taste
One of my favorite things about this Oreo Eyeballs Halloween Treats Recipe is how easy it is to tweak to fit your style or what you have around. I sometimes swap out Life Saver Gummies for gummy worms or other Halloween candies, just to have fun with the colors and shapes.
- Variation: Last year, I tried using colored candy melts in green and yellow instead of red to make “alien eyeballs” for a sci-fi themed party—it was a huge hit!
- Dietary swaps: For a dairy-free version, pick vegan-friendly chocolate chips and candies so everyone can enjoy the spooky fun.
- Extra spooky: Add a tiny edible googly eye on top for that extra “creepy crawly” look.
Step-by-Step: How I Make Oreo Eyeballs Halloween Treats Recipe
Step 1: Carefully Separate the Oreos
This part requires a gentle touch—slowly twist the Oreo cookie to separate the top half from the bottom without breaking either side. I save those tops for another treat, so don’t toss ‘em! Arrange the bottoms on a cookie sheet; this is your eyeball “canvas.” Using the flat side without cream is key so your eyeball stays stable.
Step 2: Melt Your Red Candy Chips
Pop the red candy melting chips into the microwave in a microwave-safe bowl. Heat for 30 seconds, then stir well. Repeat in 15-second bursts if needed until silky smooth. Don’t overheat—if the chocolate gets too hot, it’ll seize up. Once melted, pour into a sandwich baggie and snip a tiny corner for precise piping of those spider-web bloodshot lines.
Step 3: Pipe the “Bloodshot” Veins
Now the fun artistic part! Starting from the center of each Oreo base, pipe thin, wiggly red lines out toward the edges. This zig-zagging motion mimics those classic creepy bloodshot eye veins perfectly. Don’t worry if they’re not perfect—each eyeball gets its own personality with your unique piping style!
Step 4: Add the Iris and Pupil
Place a Life Saver gummy right in the center as the iris. Dab a tiny bit of the red melted candy chocolate in the gummy’s center (this acts like glue) before gently pressing a chocolate chip (flat side up) on top for the pupil. This layering makes the eyeball look alive and gives the right juicy pop of color.
Step 5: Chill Until Set
Pop your cookie sheet into the fridge for about 10 minutes so the red candy melts harden and everything sticks well together. This chill time is key for “eyeball integrity” and to avoid messy, melted eyes at your party.
Pro Tips for Making Oreo Eyeballs Halloween Treats Recipe
- Gentle cookie handling: Twisting Oreos apart slowly prevents cracking so your eyeball base stays intact.
- Microwave in short bursts: Heat red candy melts gradually and stir often to avoid overheating or graininess.
- Tiny piping tip: Snip just a very small hole in the sandwich bag corner for precise red vein lines—you want them delicate, not thick.
- Chill time is your friend: Don’t skip the fridge step; it solidifies everything and keeps your treats looking flawless.
How to Serve Oreo Eyeballs Halloween Treats Recipe
Garnishes
I usually keep these eyeballs simple because they’re such a visual statement. But sometimes I add a sprinkle of edible glitter or a dusting of red food coloring powder around them on the serving platter to amp up the spook factor. It’s subtle, but it really catches the light and makes them look eerily realistic!
Side Dishes
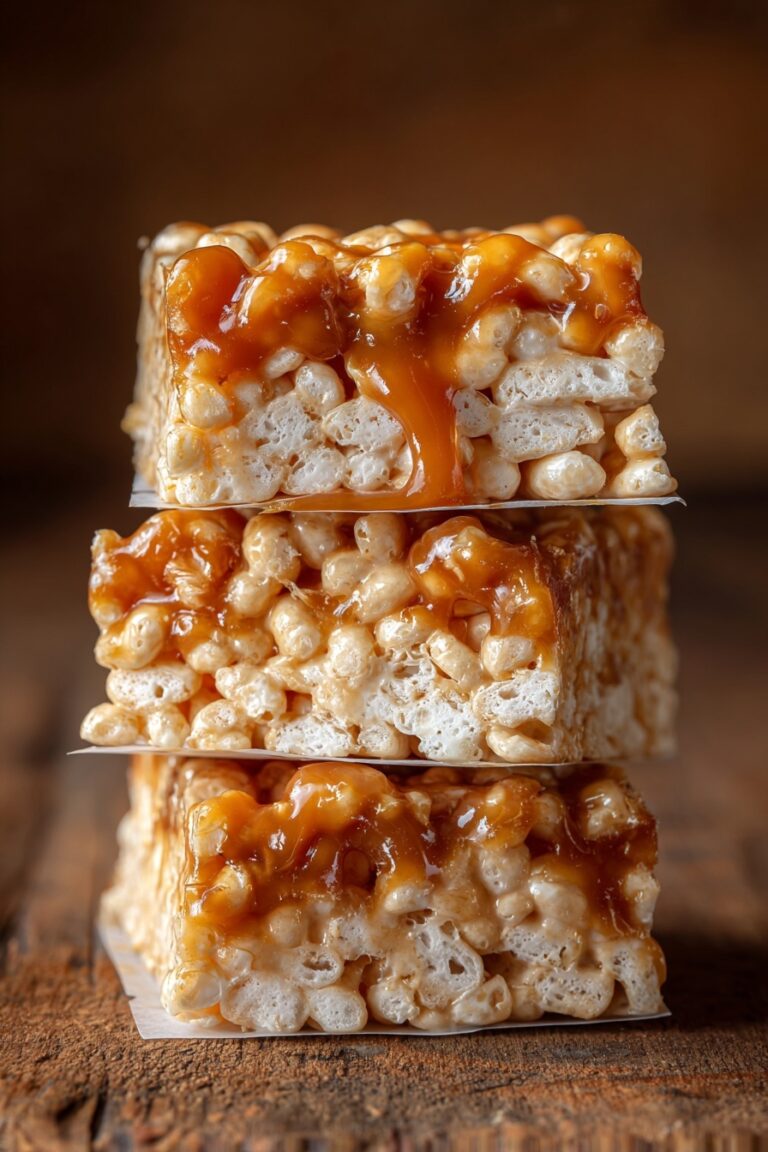
Pair these tasty eyeballs with classic Halloween snacks like caramel popcorn, mini pumpkin muffins, or a bowl of ghost-shaped marshmallows. The contrast of textures and flavors keeps the snack table exciting and colorful.
Creative Ways to Present
One year, I arranged the Oreo eyeballs in a large hollowed-out carved pumpkin as a centerpiece. People loved dipping their hands in the pumpkin mouth to grab a “popping eyeball.” You could also display them on black lace doilies or scatter tiny plastic spiders around for extra creepy vibes.
Make Ahead and Storage
Storing Leftovers
I keep leftover Oreo eyeballs in an airtight container in the fridge, and they hold up beautifully for 3-4 days. Just make sure they’re chilled so the red candy melts don’t get sticky or melt. When you pull them out, they’re ready to serve immediately.
Freezing
Freezing isn’t my go-to for these treats because the texture can change a bit, especially with gummy candies. However, if you do freeze them, wrap each eyeball individually in plastic wrap and place in a freezer-safe container. Defrost fully in the fridge before serving.
Reheating
Since these are sweet snacks, reheating isn’t necessary—in fact, the chocolate and gummies taste best cold and firm. If you want the red candy melts shiny again, just let them come to room temperature for 10 minutes before serving.
FAQs
-
Can I use other gummy candies instead of Life Saver Gummies?
Absolutely! You can swap Life Saver Gummies for any round, colorful gummy candy that fits nicely as the eyeball iris. Just choose a candy that isn’t too sticky or soft so it holds its shape well on the cookie.
-
What if I don’t have red candy melts?
You can substitute red colored white chocolate or use regular white candy melts and add a drop of red food coloring (gel works best) before melting. Just stir gently to avoid seizing. Alternatively, use red decorating gel for piping!
-
How do I prevent the Oreo halves from breaking when twisting apart?
Gently twist and pull slowly. If the Oreo feels stiff, try warming it for 10 seconds in the microwave to soften the cream slightly, then twist. Using fresh Oreos helps since older cookies tend to be more brittle.
-
Can kids help make the Oreo Eyeballs Halloween Treats Recipe?
Definitely! Kids love piping the red candy veins and placing the gummy irises and chocolate pupils. Just supervise the melting of candy chips to keep things safe and to handle the hot items.
Final Thoughts
This Oreo Eyeballs Halloween Treats Recipe is one of my go-to party tricks because it’s simple, fun, and impressively spooky without requiring advanced skills or crazy ingredients. Every time I make them, friends ask for the recipe because they’re just that charming (and slightly creepy!). So don’t hesitate—grab some Oreos, candies, and melting chips and make these eyeballs your Halloween party’s shining star. You’ll love how easy and delightful this little project is, and your guests will never forget it.
Print
Oreo Eyeballs Halloween Treats Recipe
- Prep Time: 15 minutes
- Cook Time: 10 minutes
- Total Time: 25 minutes
- Yield: 12 servings
- Category: Dessert
- Method: No-Cook
- Cuisine: American
Description
These Oreo Eyeballs Halloween Treats are a spooky and fun dessert perfect for Halloween parties. Featuring Oreo cookies decorated with red candy melts, Life Saver gummies, and chocolate chips to create creepy, bloodshot eyeballs that are as delicious as they are festive.
Ingredients
Eyeballs
- 12 Oreos
- 12 Life Saver Gummies
- 12 Chocolate Chips
- 1/4 cup Red Candy Melting Chips
Instructions
- Prepare Oreos: Carefully remove the tops of the Oreos and set the bottoms aside on a cookie sheet. Save the Oreo tops to use in another treat.
- Melt Red Candy: Heat the red candy melting chips in the microwave for 30 seconds. Stir well and repeat heating in 10-15 second increments until the candy is fully melted and smooth.
- Pipe Bloodshot Lines: Transfer the melted red candy into a zippered sandwich bag and snip a tiny tip off a corner. Pipe thin zigzag red lines from the center of each Oreo bottom out to the edge to simulate bloodshot eyes.
- Add the Iris: Place a Life Saver gummy in the center of each Oreo as the eyeball’s iris.
- Attach the Pupil: Pipe a small dot of red melted candy in the middle of each gummy to act as glue. Quickly place a chocolate chip flat side up on top to mimic the pupil.
- Set Treats: Place the completed Oreo eyeballs in the refrigerator for 10 minutes to allow the candy to set and harden.
Notes
- Be careful when removing Oreo tops to keep the cookie bottom intact.
- If you don’t have Life Saver gummies, jelly candies of a similar shape and size can be used as an iris substitute.
- You can use any color of candy melts, but red is best for a spooky, bloodshot effect.
- For quicker candy melting, use a double boiler on low heat as an alternative to the microwave.
- Store finished eyeballs in an airtight container in the refrigerator up to 3 days.
Nutrition
- Serving Size: 1 eyeball (1 Oreo treat)
- Calories: 110 kcal
- Sugar: 12 g
- Sodium: 85 mg
- Fat: 5 g
- Saturated Fat: 3 g
- Unsaturated Fat: 1 g
- Trans Fat: 0 g
- Carbohydrates: 15 g
- Fiber: 1 g
- Protein: 1 g
- Cholesterol: 0 mg


