
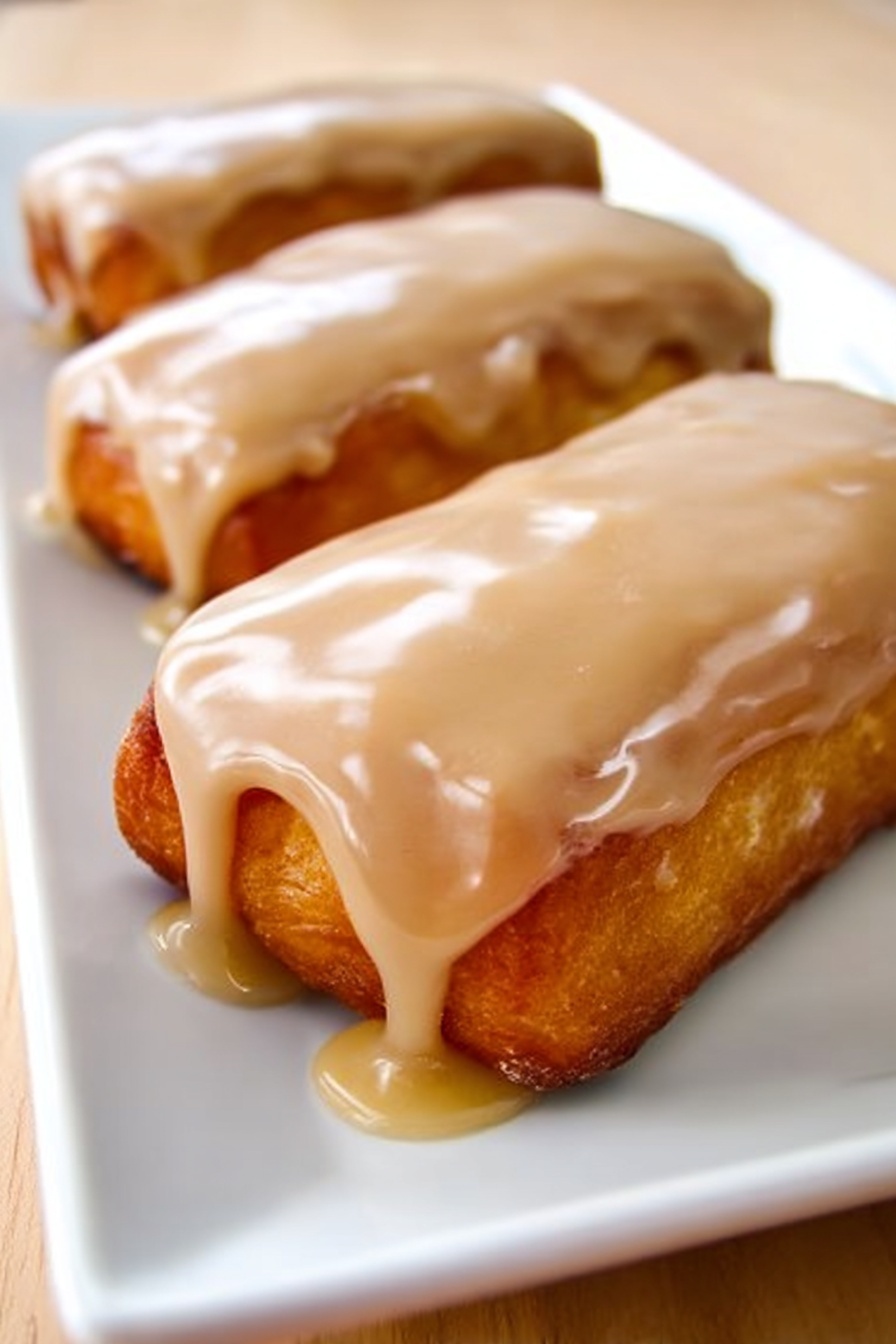
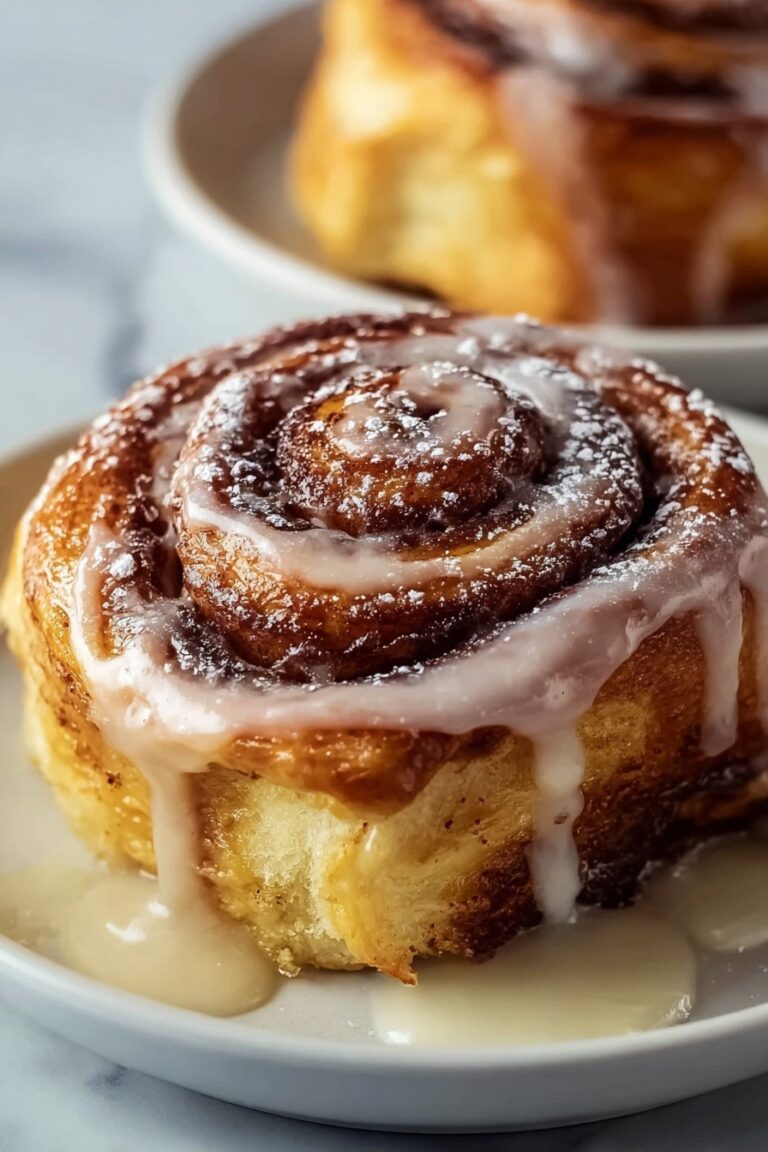
Maple Glazed Donut Recipe
If you’re on the hunt for a delectably tender, sweet treat with that perfect balance of tender dough and a shiny, rich maple icing, I’m so excited to share this Maple Glazed Donut Recipe with you. It’s the kind of recipe that turns weekend mornings into cozy celebrations, filling your kitchen with the irresistible scent of warm maple and fresh doughnuts. Trust me, once you try making these at home, you’ll wonder why you ever bought them anywhere else!
Why This Recipe Works
- Perfect Balance in Dough: The combination of bread flour and just enough shortening creates a soft yet chewy texture that’s impossible to resist.
- Homemade Maple Glaze: Using maple extract and corn syrup ensures a glossy, flavorful icing that sets beautifully on each donut.
- Proven Rising Technique: Creating a warm, humid environment for proofing helps your dough rise nicely without overheating or drying out.
- Simple Frying Method: Maintaining a careful eye on oil temperature ensures crispy outsides and tender, airy insides every time.

Ingredients & Why They Work
Each ingredient in this Maple Glazed Donut Recipe plays a key role to create the perfect texture and flavor. From the yeast that gives you that airy rise to the maple extract in the icing that adds that signature sweetness, I’ll walk you through why they matter and how to get the best out of each one.
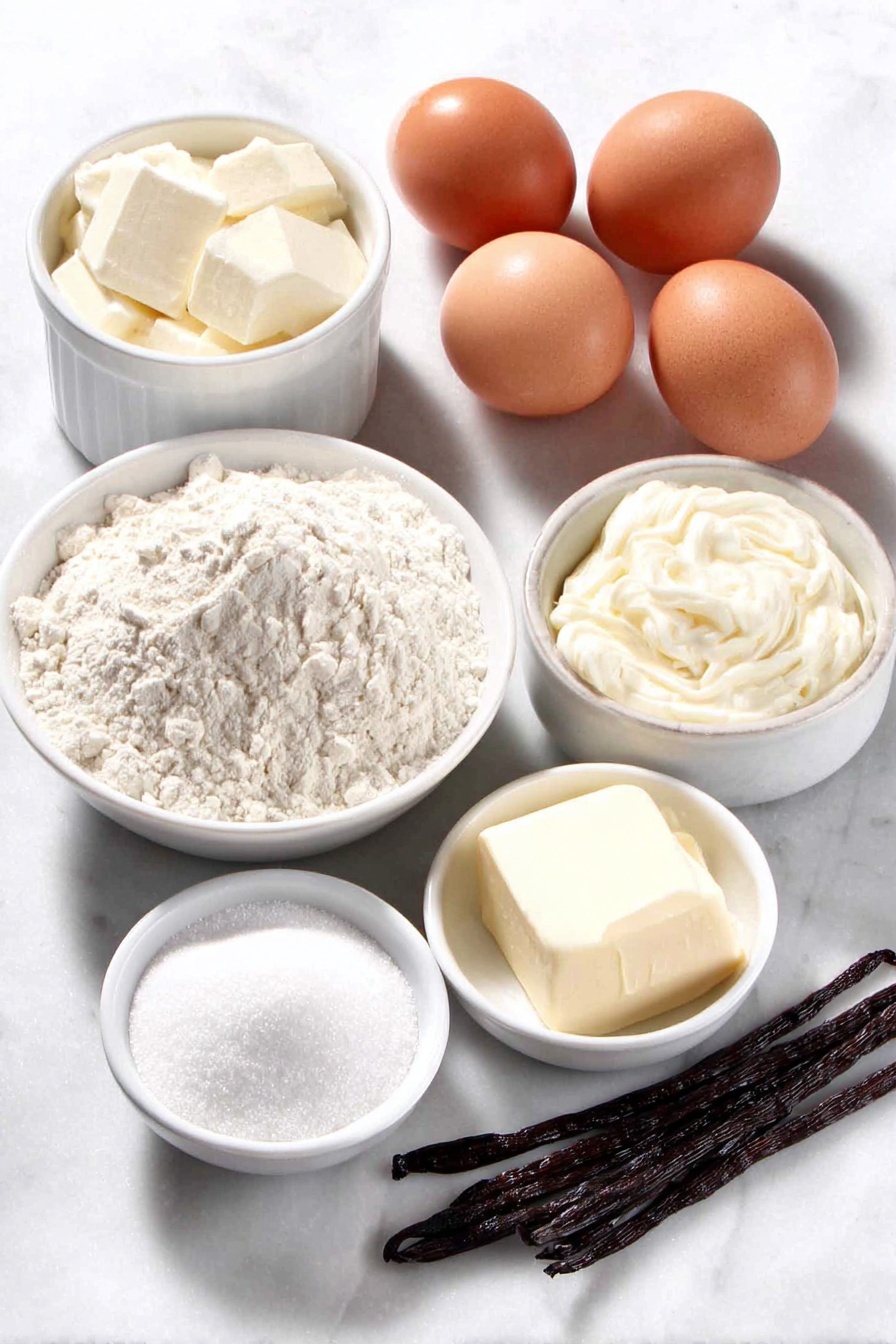
- Warm water: Activates the yeast perfectly without killing it—aim for about 105-110°F for best results.
- Active dry yeast: The magic agent that helps your donuts rise into those fluffy pillows we all dream of.
- Granulated sugar: Feeds the yeast and gives the dough sweetness and color.
- Butter-flavored shortening: Adds richness and tenderness to the dough, but you can swap for regular shortening or butter if preferred.
- Egg yolks: Provide richness and the beautiful crumb texture that’s soft and moist.
- Vanilla extract: Enhances overall flavor complexity in the dough and glaze.
- Bread flour: Offers structure and chewiness; you can use all-purpose flour for a lighter texture but less chew.
- Kosher salt & baking powder: Balance flavor and improve the dough’s rise and crumb.
- Peanut oil: Ideal for frying because of its high smoke point and neutral flavor.
- Powdered sugar: The base of your maple glaze, giving it that smooth finish and sweetness.
- Light corn syrup: Adds shine and prevents the glaze from crystallizing.
- Maple extract: The star flavor in this recipe—add as much as you like for that glorious maple punch.
- Hot water (for glaze): Helps thin the glaze to just the right consistency for dipping.
Tweak to Your Taste
One of the best things about this Maple Glazed Donut Recipe is how easy it is to make your own. I love to experiment with the glaze strength or even mix in a dash of cinnamon for a cozy twist. Feel free to make this recipe your own — the dough’s forgiving and the glaze is a blank canvas!
- Extra Maple Punch: I often add a bit more maple extract to the glaze for that bold, unmistakable flavor; I find it wakes up the whole recipe wonderfully.
- Spiced Variations: Adding a pinch of cinnamon or nutmeg to the dough or glaze creates delicious seasonal vibes without overcomplicating things.
- Gluten-free Friendly: While this recipe is designed for bread flour, try a high-quality gluten-free baking blend if needed—expect some textural differences but still delicious.
- Vegan Adaptations: Use plant-based shortening and substitute egg yolks with flaxseed “eggs” to make a vegan-friendly version, though it will be a bit less rich.
Step-by-Step: How I Make Maple Glazed Donut Recipe
Step 1: Wake up your yeast gently
This first step is like the secret handshake of baking donuts: mix your warm water with the yeast and a tablespoon of sugar, then let it sit until it bubbles up happily—usually about five minutes. If it doesn’t bubble, no worries, just start over with fresh yeast and a warmer water temp. This little test saved me many times and it’s worth the extra 5 minutes upfront so you don’t end up with dense donuts.
Step 2: Build your dough mixing magic
After your yeast is proofed, add sugar, shortening, egg yolks, and vanilla. Beat this mixture until the shortening breaks up but isn’t completely blended — this gives your dough that tender crumb. Then add 1 cup of bread flour, sprinkle on your kosher salt and baking powder, and stir. Incorporate remaining flour gradually, switching to a dough hook or hand kneading until you have a smooth dough that’s slightly sticky but pulls away from the sides of the bowl. This stickiness is a good sign — it keeps your donuts soft and tender inside.
Step 3: Let the dough rise the right way
Shape your dough into a neat ball, form it into a 6×6 inch square, and cover it with a cloth dusted with flour so it won’t stick. Now, here’s where the magic proofing environment comes in: turn your oven on for about 30 seconds, then off to create a warm but not hot spot. Place your dough in the oven and create a mini humidifier by pouring boiling water into a pan right underneath. This gives your yeast just the coziest conditions to double in size — usually about an hour. Your patience will be rewarded with an airy, light dough ready for shaping.
Step 4: Shape your donuts with care
Once risen, turn your dough onto a floured surface using a gentle tilt rather than poking or squeezing — we want to keep in every bit of that airy rise. Roll it into an 11×12 inch rectangle gently, then slice into 12 rectangles about 5×2 inches each using a pizza cutter. I like to trim the edges for neater shapes, but you can absolutely keep it rustic. Transfer them carefully to floured baking sheets spaced apart, then back into that warm oven with the boiling water bake pan to rise again — about 45 minutes. This second rise is essential for lightness and those signature fluffy donuts.
Step 5: Fry like a pro
When you’re about 15 minutes away from finishing your second rise, start heating your peanut oil in a large pot to 350°F. Use a candy thermometer to be precise — this is the key temperature for golden, crisp results without greasiness. Fry your donuts in small batches, about 30-40 seconds on the first side and 20 seconds on the flip, until the color is a beautiful golden brown. Handle them gently with a spatula or scraper to avoid deflating your delicate donuts. Drain on paper towels and cool completely before glazing.
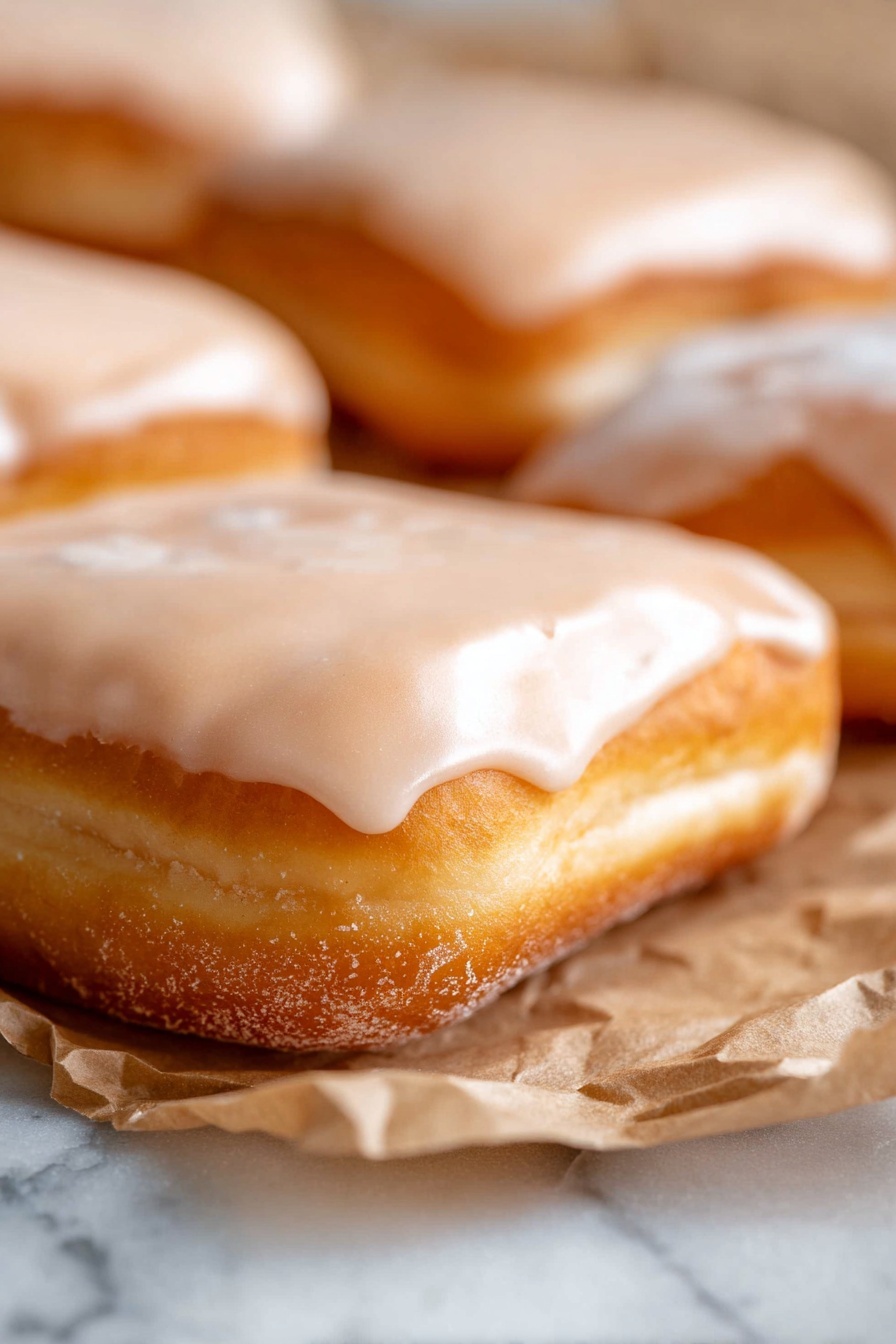
Step 6: Dip and delight in maple glaze
Whisk together your powdered sugar, corn syrup, salt, vanilla, maple extract, and hot water until you get a glossy glaze that’s thin enough to dip but not too runny. Tip: taste and add more maple extract if you crave a stronger flavor like I do. Dip the rounded side of each cooled donut in the glaze, letting it drip off before resting on a wire rack. Give the glaze about 15-20 minutes to set to that perfect shiny finish.
Pro Tips for Making Maple Glazed Donut Recipe
- Test Your Yeast First: Always check your yeast with warm water and sugar; fresh, bubbly yeast makes all the difference in rise and texture.
- Control Oil Temperature: Use a candy thermometer and don’t rush the heating process; consistent medium heat keeps donuts cooking evenly.
- Don’t Skip The Proofing Box: That warm, steamy oven spot really boosts the dough’s rise and keeps it from drying out.
- Glaze at Room Temp: Always wait for donuts to cool completely before dipping the glaze; warm donuts repel the glaze and lead to a messy finish.
How to Serve Maple Glazed Donut Recipe
Garnishes
I like to keep it classic with just the maple glaze, but sometimes I sprinkle a little chopped toasted pecans or crispy bacon bits on top to add a lovely crunch and salty contrast. For a festive touch, tossing some finely shredded coconut or a light dusting of cinnamon sugar really ups the wow factor.
Side Dishes
These donuts pair beautifully with a strong cup of coffee or a frothy latte. For brunch, I love serving them alongside a fresh fruit salad or a plate of scrambled eggs to balance the sweetness with savory. Perfect for sharing with friends or family!
Creative Ways to Present
For parties, arrange your maple glazed donuts on a tiered stand with edible flowers or fresh herbs like mint for a stunning display. You can also gift them in pretty boxes with parchment paper for a thoughtful homemade treat that always impresses. Don’t forget to drizzle any remaining glaze artistically over the pile for extra style points!
Make Ahead and Storage
Storing Leftovers
I usually keep leftover maple glazed donuts in an airtight container on the counter for up to 2-3 days. They’ll stay soft and fresh, but if you want to keep them a bit longer, follow these freezing tips.
Freezing
I like to freeze these donuts individually wrapped in plastic wrap and then placed together in a freezer-safe bag. They freeze beautifully and thaw quickly — perfect for a surprise sweet treat later. Just pull them out overnight, unwrap, and enjoy.
Reheating
For quick reheating, I pop a donut in the microwave for about 10-15 seconds to bring back that fresh-baked warmth. Avoid reheating the glaze directly for too long, or it might soften too much. A quick zap revives the softness without sogginess.
FAQs
-
Can I use regular all-purpose flour instead of bread flour in this Maple Glazed Donut Recipe?
Absolutely! Using all-purpose flour will give you a slightly less chewy texture, but the donuts will still be tender and delicious. If you prefer a softer bite, all-purpose works just fine.
-
What’s the best way to tell if my oil is at the right temperature for frying donuts?
The best way is to use a candy or deep-fry thermometer—it should read around 350°F. If you don’t have one, you can test by dropping a small piece of dough into the oil; it should bubble and float immediately, turning golden in about 30 seconds without burning.
-
My glaze seems too thick, how can I fix it?
If your glaze is too thick to dip, just add a teaspoon of hot water at a time while whisking until it reaches a smooth, pourable consistency. It should coat the donut but not be runny enough to drip off immediately.
-
Can I make the dough ahead of time and refrigerate before frying?
You sure can! After the first rise, you can punch down the dough, cover it tightly, and refrigerate overnight. Just bring it back to room temperature and let it rise again before shaping, frying, and glazing.
-
Is peanut oil necessary for frying?
Peanut oil is great because of its high smoke point and neutral flavor, but you can use other neutral oils like canola or vegetable oil. Just make sure whatever oil you use can handle 350°F without smoking.
Final Thoughts
I can’t tell you how many times this Maple Glazed Donut Recipe has been my go-to for impressing guests or treating myself on lazy weekends. Its balance of tender dough and luscious maple glaze is just pure joy in every bite. If you take away one thing from this, it’s that homemade donuts are totally doable with a bit of patience and love (and a candy thermometer!). So grab your ingredients, get cozy in your kitchen, and make these delightful maple glazed donuts your new sweet obsession. You’ll thank me after that very first bite!
Print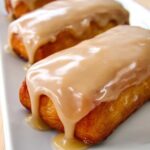
Maple Glazed Donut Recipe
- Prep Time: 30 minutes
- Cook Time: 2 minutes
- Total Time: 2 hours 32 minutes
- Yield: 12 servings
- Category: Dessert
- Method: Frying
- Cuisine: American
Description
A classic homemade recipe for soft, tender maple bar donuts with a fluffy yeast dough fried to golden perfection and coated in a sweet maple glaze.
Ingredients
For the Dough
- 1 cup warm water, about 105 degrees F
- 3 tablespoons active dry yeast
- 1 tablespoon granulated sugar
- 1/2 cup granulated sugar
- 1/4 cup butter-flavored shortening or regular shortening
- 3 large egg yolks
- 1 teaspoon vanilla extract
- 3 1/2 cups bread flour, spooned and leveled (up to 4 cups if sticky)
- 2 1/2 teaspoons kosher salt
- 1/2 teaspoon baking powder
- Peanut oil for frying, about two 24-ounce bottles
For the Maple Icing
- 4 cups powdered sugar, plus an extra 1/2 cup (1 pound total)
- 2 teaspoons light corn syrup
- 1/4 teaspoon kosher salt
- 1/2 teaspoon vanilla extract
- 1 teaspoon maple extract, or more to taste
- 1/3 cup hot water, plus more if needed
Instructions
- Activate Yeast: In a large bowl or stand mixer, combine 1 cup warm water (105-110 degrees F), 3 tablespoons active dry yeast, and 1 tablespoon sugar. Let sit for 5 minutes until bubbly to confirm yeast is active.
- Mix Dough Wet Ingredients: Add 1/2 cup granulated sugar, 1/4 cup shortening, 3 egg yolks, and 1 teaspoon vanilla to the yeast mixture. Beat using paddle attachment until shortening is broken up but not fully blended.
- Add Initial Flour and Seasonings: Add 1 cup bread flour without stirring. Sprinkle 2 1/2 teaspoons kosher salt and 1/2 teaspoon baking powder on top of the flour and stir lightly to combine with flour. Beat for 1 minute until blended.
- Add Remaining Flour and Knead: Add remaining flour 1 cup at a time, up to 4 cups total if dough is sticky. Switch to dough hook or knead by hand until dough pulls away from bowl sides. Knead for about 5 minutes until smooth.
- Prepare Proofing Environment: Bring a large pot of water to a boil (at least 2 quarts). Lightly flour a baking sheet. Preheat oven to 350 degrees F for 30 seconds and then turn off to create a warm environment.
- Shape Dough and First Rise: Shape dough into a 6×6 inch square on floured baking sheet, lightly flour top and cover with a cloth. Place in the warm oven and set a 9×13 inch pan on lower rack. Pour boiling water into the pan to create humidity. Let dough rise for 1 hour or until doubled.
- Prepare For Frying: After first rise, pour water back into boiling pot and bring back to a boil. Remove dough from oven and gently turn onto floured surface. Dust two baking sheets with flour.
- Shape Donuts: Roll dough gently into an 11×12 inch rectangle without pressing out air. Cut into 12 rectangles approximately 5×2 inches, trimming edges for clean shapes if desired.
- Second Rise: Transfer donuts to floured baking sheets spaced 2 inches apart. Place back in warm oven with boiling water pan below. Let rise uncovered for 45 minutes or until doubled.
- Heat Oil: About 15 minutes before second rise finishes, heat 2 inches of peanut oil in a large pot with a candy thermometer. Bring to 350 degrees Fahrenheit and maintain temperature.
- Fry Donuts: Fry donuts in batches of 2-3, carefully lowering them with a scraper to avoid deflating. Fry 30-40 seconds then flip and fry another 20 seconds until golden brown. Drain on paper towels and cool completely.
- Prepare Maple Icing: Whisk together powdered sugar, corn syrup, salt, vanilla, maple extract, and hot water. Adjust thickness with more water or powdered sugar to achieve a dip-able glaze.
- Glaze Donuts: Dip the roundest side of each cooled donut into the maple icing. Place on wire rack and allow glaze to set for 15-20 minutes before serving.
- Store: Keep donuts in a sealed container at room temperature for 2-3 days.
Notes
- All-purpose flour can be used as a substitute for bread flour for a slightly less chewy texture.
- Used peanut oil can be strained and saved for reuse in future frying.
- Maintain dough puffiness by handling gently during shaping and transferring.
- Do not ice donuts while warm or glaze will not adhere properly.
- Create a warm, humid proofing environment by using boiling water in the oven during rises.
Nutrition
- Serving Size: 1 donut
- Calories: 320 kcal
- Sugar: 25 g
- Sodium: 180 mg
- Fat: 15 g
- Saturated Fat: 3.5 g
- Unsaturated Fat: 9 g
- Trans Fat: 0 g
- Carbohydrates: 40 g
- Fiber: 1 g
- Protein: 5 g
- Cholesterol: 70 mg
