
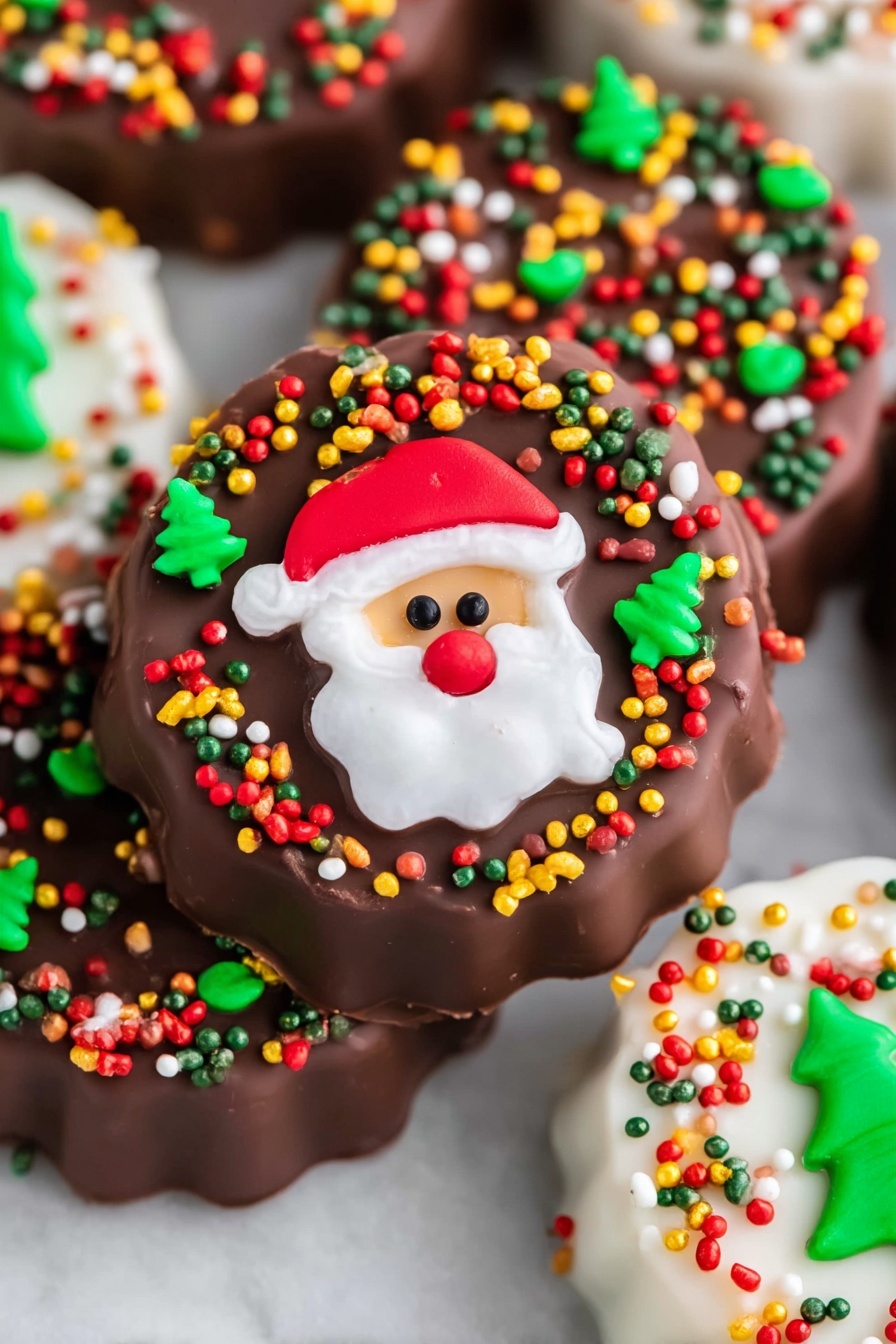
Homemade Peanut Butter Cups Recipe
If you’ve ever craved the perfect combination of chocolate and peanut butter but wanted to skip the store-bought stuff, you’re in for a treat. This Homemade Peanut Butter Cups Recipe is absolutely fan-freaking-tastic, and once you try it, you’ll never want to go back to the prepackaged kind. Ready to make something that tastes like a labor of love but comes together with surprising ease? Let me walk you through it—this recipe is your new best friend for sweet cravings and sharing (or sneaking) at home.
Why This Recipe Works
- Simple Ingredients: Using just a handful of pantry staples lets the peanut butter shine elegantly.
- No Fuss Preparation: You’ll be amazed how easy it is to blend, melt, and assemble these little bites.
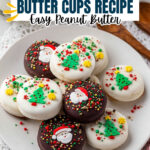
- Customizable Flavors: Add sprinkles or candy decorations for festive fun or keep it classic and pure.
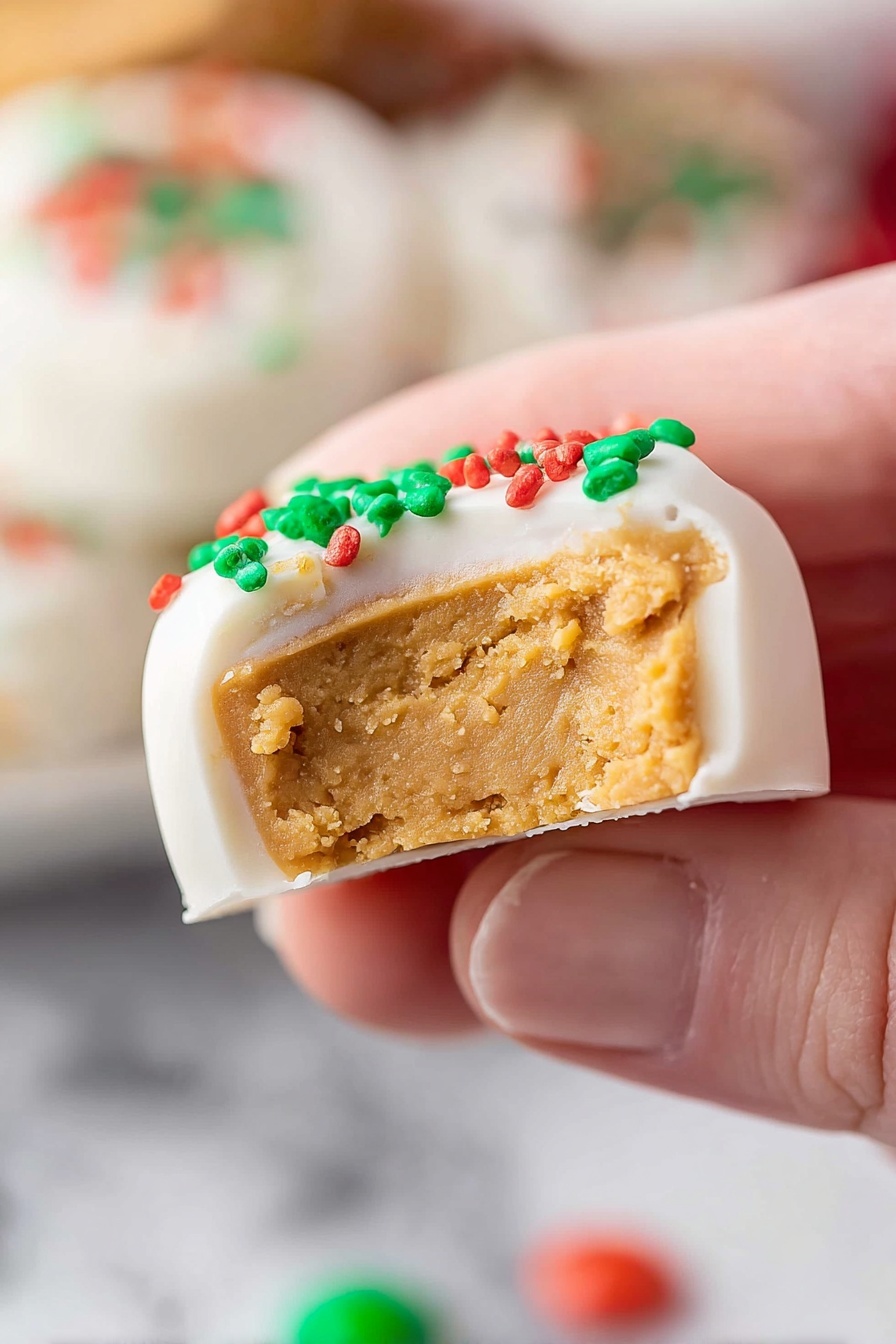
- Perfect Texture: The balance between crumbly peanut butter filling and smooth chocolate coating is just right every time.

Ingredients & Why They Work
The magic of this Homemade Peanut Butter Cups Recipe is in balanced simplicity. Each ingredient plays a distinct role—no need for anything fancy, but picking quality basics will truly up your game. I always go for creamy peanut butter to get that melt-in-your-mouth texture, and don’t skimp on the chocolate almond bark since it hardens beautifully and keeps things neat.
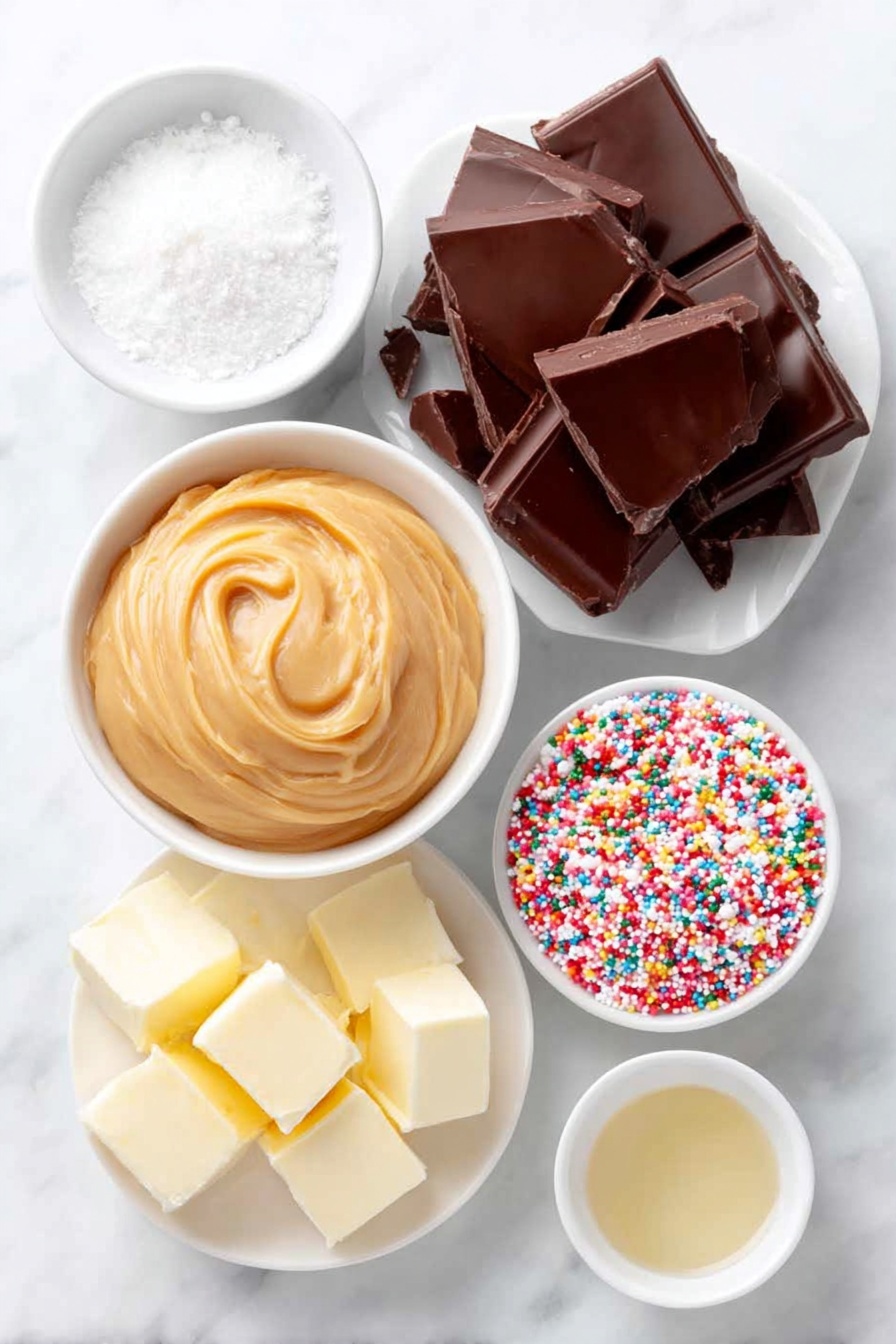
- Creamy Peanut Butter: Use smooth, natural peanut butter for that rich, luscious filling that holds together well.
- Unsalted Butter: Room temperature butter integrates flawlessly to add silkiness and richness.
- Vanilla Extract: A splash of vanilla enhances the peanut flavor and adds warmth.
- Confectioners Sugar: It sweetens without graininess and helps achieve that perfect crumbly texture.
- Chocolate Almond Bark or Vanilla Almond Bark: This melts smoothly and sets firmly, creating the beautiful chocolate shell.
- Sprinkles (optional): For a festive or fun touch, but totally optional if you prefer classic simplicity.
Tweak to Your Taste
I love how flexible this Homemade Peanut Butter Cups Recipe is—you can easily customize the sweetness, chocolate type, or even add a dash of salt if you’re into that salty-sweet vibe. Making it your own is half the fun, so feel free to experiment a bit once you get the hang of the basic process.
- Peanut Butter Variety: I’ve swapped creamy peanut butter for natural or even homemade peanut butter; it’s slightly less sweet but so flavorful.
- Chocolate Choices: Using dark chocolate almond bark adds a richer flavor; vanilla almond bark is sweeter and lighter, perfect with holiday sprinkles.
- Make It Nut-Free: Substitute sunflower seed butter for a nut-free option that’s equally creamy and delicious.
- Sprinkle It Up: For a holiday twist, colorful sprinkles or crushed candy canes on top really brighten these up.
Step-by-Step: How I Make Homemade Peanut Butter Cups Recipe
Step 1: Prep Your Pan and Get Ready
I always start by lining my muffin pan with cupcake liners. Trust me, this makes clean-up a breeze and helps your peanut butter cups pop right out when they’re ready. For this recipe, you’ll need about 18 liners—don’t skip this step!
Step 2: Mix the Peanut Butter Filling
In a large bowl, I blend together the peanut butter and softened unsalted butter using a mixer until it’s nice and smooth. Adding the vanilla extract next brings out a lovely aroma, then I slowly mix in the confectioners sugar until the mixture is combined and crumbly but holds together if you press it—perfect for shaping.
Step 3: Melt the Chocolate Almond Bark
Break up the chocolate almond bark into chunks and place them in a microwave-safe bowl. Heat in 30-second bursts, stirring each time, until the chocolate is silky smooth. This slow melting helps avoid burning or seizing, which can ruin your coating.
Step 4: Coat the Cup-Molds with Chocolate
Spoon a bit of melted chocolate into the bottom of each cupcake liner, then gently spread it up the sides to form a little chocolate cup. I find using the back of a spoon works great for this. This step creates that beautiful chocolate shell we all love.
Step 5: Shape the Peanut Butter Filling
Using a heaping tablespoon, scoop the peanut butter mixture and roll it into balls. Then flatten each one into a thick disc. This helps it fit snugly into the chocolate cups and stay stable once covered. Don’t worry if they’re not perfectly round—homemade charm counts!
Step 6: Assemble and Finish the Cups
Place one peanut butter disc on top of the chocolate base in each cup. Then spoon the remaining melted chocolate over the peanut butter layer, fully covering it. If you’re feeling festive, sprinkle your toppings right away so they stick before the chocolate sets.
Step 7: Chill and Set
Allow your peanut butter cups to set at room temperature for about an hour, or speed things up by chilling them in the fridge for 30 minutes. Once firm, they’re ready to enjoy or pack away.
Pro Tips for Making Homemade Peanut Butter Cups Recipe
- Perfect Chocolate Temperatures: Take your time melting chocolate in short bursts; avoid overheating to keep it smooth and glossy.
- Don’t Overmix Peanut Butter Filling: Mix just until combined to get that crumbly, easy-to-shape texture—too much mixing can make it too soft.
- Use Fresh Butter: Room temperature unsalted butter blends easier and gives a richer taste than margarine or cold butter.
- Timing is Key: Spoon the top layer of chocolate quickly while melted, then add sprinkles fast before chocolate firms up for best looks.
How to Serve Homemade Peanut Butter Cups Recipe
Garnishes
I’m personally a fan of a simple sprinkle of festive colored sugar on top when it’s holiday season. Sometimes I add finely chopped roasted peanuts for a nice crunch. But honestly, these cups are delicious even without any garnish—let the chocolate and peanut butter speak for themselves.
Side Dishes
These peanut butter cups are wonderful on their own but pair beautifully with a glass of cold milk or a hot cup of coffee. If you’re serving a dessert tray, think fresh berries or a slice of banana bread to complement the rich chocolate.
Creative Ways to Present
For birthday parties or gift-giving, I’ve wrapped individual cups in festive cellophane tied with ribbon. Another fun idea is stacking them in a pretty box layered with parchment paper—a sweet surprise anyone would love! You can even decorate the top with edible gold flakes for a touch of elegance.
Make Ahead and Storage
Storing Leftovers
I keep leftover peanut butter cups stored in an airtight container in the fridge. They stay perfectly fresh for up to two weeks, making them a great make-ahead treat to enjoy throughout the week without any dip in flavor or texture.
Freezing
If I want to stash some for later, I freeze my cups individually wrapped in parchment paper inside a sealed container. They can go in the freezer for up to 3 months and thaw beautifully as a quick snack or dessert when you need a chocolate fix.
Reheating
No need to reheat these! Just bring frozen cups to room temperature for about 10-15 minutes and enjoy. If you’re in a hurry, a very quick zap in the microwave (5-7 seconds) softens the chocolate just enough without melting the filling.
FAQs
-
Can I use natural peanut butter in this recipe?
Absolutely! Natural peanut butter works, but keep in mind it’s usually less sweet and has more oil separation, so the filling might be a bit softer. You may want to adjust the confectioners sugar slightly to get the right texture.
-
What if I don’t have almond bark? Can I use regular chocolate chips?
Yes, you can substitute with good-quality chocolate chips, but almond bark melts easier and sets firmer without needing tempering. If using chips, be sure to melt gently with a bit of coconut oil or butter for smooth coverage.
-
Why does the peanut butter mixture sometimes get too soft?
Overmixing or using too warm butter can make the filling soft and harder to shape. Use room temperature butter and mix until just combined to keep a nice crumbly texture that holds up well.
-
Can I make these gluten-free?
Definitely! This recipe is naturally gluten-free provided your peanut butter and chocolate don’t contain any gluten ingredients or cross contamination.
Final Thoughts
This Homemade Peanut Butter Cups Recipe holds a special place on my recipe list because it’s a little nostalgic yet feels like a personal treat every time I make it. It’s sweet, simple, and so rewarding to whip together with just a few ingredients you probably have on hand. Next time your chocolate cravings hit, I wholeheartedly recommend trying this one—you might find it’s your new favorite homemade indulgence.
Print
Homemade Peanut Butter Cups Recipe
- Prep Time: 20 minutes
- Cook Time: 0 minutes
- Total Time: 1 hour 20 minutes
- Yield: 18 servings
- Category: Dessert
- Method: No-Cook
- Cuisine: American
Description
Homemade Peanut Butter Cups are a delightful no-bake treat combining creamy peanut butter filling with a rich chocolate almond bark coating. Easy to make and perfect for any occasion, these cups can be customized with sprinkles or enjoyed plain. They set quickly and store well for up to two weeks in the refrigerator.
Ingredients
Peanut Butter Filling
- 1 cup creamy peanut butter
- ¼ cup unsalted butter, room temperature
- 1 teaspoon vanilla extract
- 1 ½ cups confectioners sugar
Chocolate Coating
- 1 pound chocolate almond bark or vanilla almond bark
- Sprinkles, optional
Instructions
- Prepare Muffin Pan: Line a muffin pan with 18 cupcake liners to hold the peanut butter cups securely during the setting process.
- Mix Peanut Butter and Butter: In a large bowl, use a mixer to blend the creamy peanut butter and room temperature unsalted butter until the mixture is smooth and fully combined.
- Add Vanilla and Sugar: Incorporate vanilla extract and confectioners sugar into the peanut butter mixture, mixing thoroughly. The mixture will become crumbly but should hold together when pressed.
- Melt Chocolate Bark: Place the chocolate almond bark in a microwave-safe bowl and melt it in 30-second intervals, stirring well after each interval, until the chocolate is completely smooth and melted.
- Coat Bottom of Cups: Spoon a small amount of melted chocolate into the bottom of each cupcake liner, spreading it to cover the base and a little up the sides to create a chocolate shell.
- Shape Peanut Butter Filling: Using heaping tablespoons, scoop the peanut butter mixture, roll each scoop into a ball, then flatten it into a thick disc shape suitable for placing onto the chocolate base.
- Assemble Cups: Place one peanut butter disc into each chocolate-lined cup.
- Add Chocolate Top Layer: Spoon the remaining melted chocolate over the peanut butter discs, covering them completely. Add sprinkles on top immediately if desired for decoration.
- Set the Peanut Butter Cups: Allow the cups to set at room temperature for about 1 hour or place them in the refrigerator for 30 minutes to speed up the setting process before serving or storing.
Notes
- Store peanut butter cups in an airtight container in the refrigerator for up to 2 weeks to maintain freshness and texture.
- Customize your peanut butter cups by adding festive sprinkles or candy decorations to suit any holiday or event.
- If almond bark is not available, you can substitute with high-quality melting chocolate or candy melts.
- For easier melting, chop the almond bark into smaller pieces before microwaving.
- To avoid condensation when refrigerated, bring cups to room temperature before serving.
Nutrition
- Serving Size: 1 peanut butter cup
- Calories: 180 kcal
- Sugar: 15 g
- Sodium: 60 mg
- Fat: 12 g
- Saturated Fat: 4 g
- Unsaturated Fat: 7 g
- Trans Fat: 0 g
- Carbohydrates: 15 g
- Fiber: 2 g
- Protein: 5 g
- Cholesterol: 10 mg
