
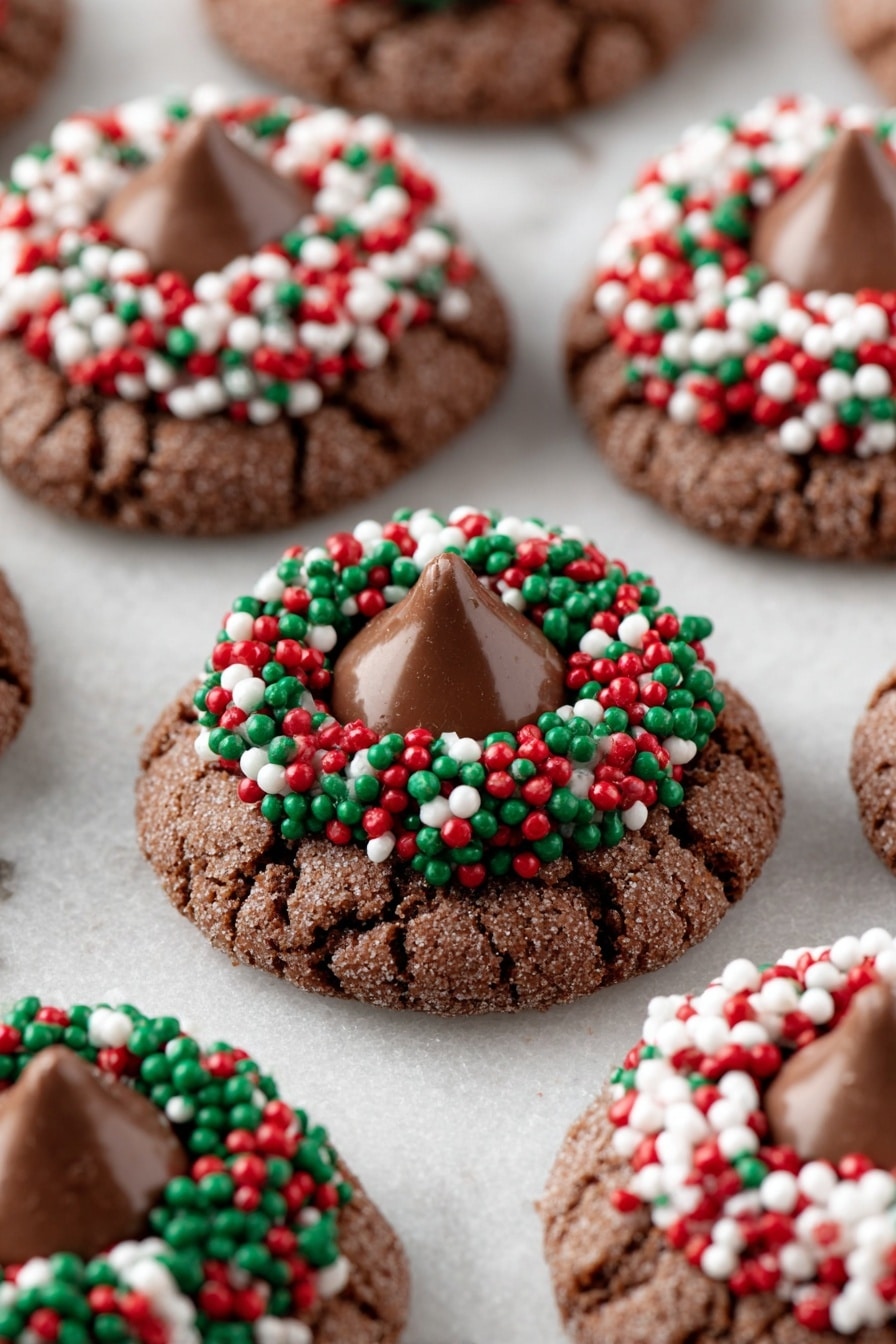
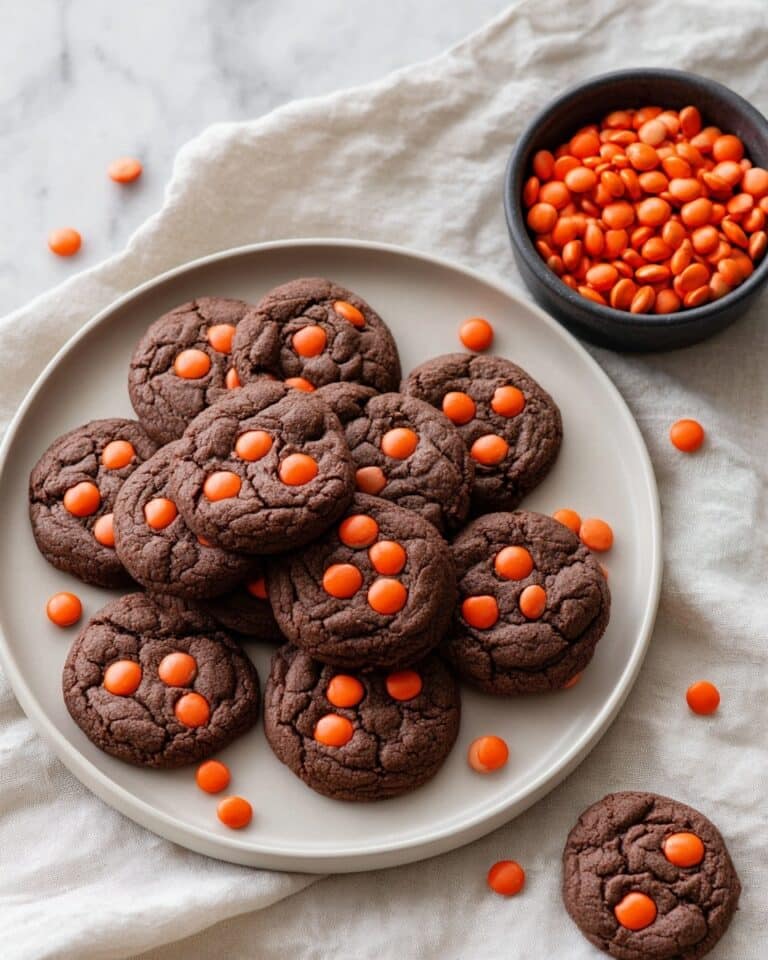
Chocolate Kiss Cookies Recipe
When I first tried the Chocolate Kiss Cookies Recipe, I was blown away by how simple and utterly delicious it turned out. If you’re craving something chocolaty, tender, and festive with that iconic Hershey’s Kiss center, you’re in the right place. Trust me, these cookies are a surefire way to impress your family, delight your guests, or just enjoy a perfect little treat with your afternoon coffee. Stick around, and I’ll walk you through everything you need to know to nail these every time.
Why This Recipe Works
- Simple ingredients: Using a chocolate cake mix makes the dough easy to work with while ensuring rich flavor without fuss.
- Cream cheese magic: Adds moisture and a slight tang to create impossibly soft cookies that don’t crumble apart.
- Choco kiss center: Pressing a warm Hershey’s Kiss after baking gives you a melty, gooey center that’s pure indulgence.
- Quick bake time: These cookies come together and bake in under 20 minutes, perfect when you want a last-minute sweet fix.

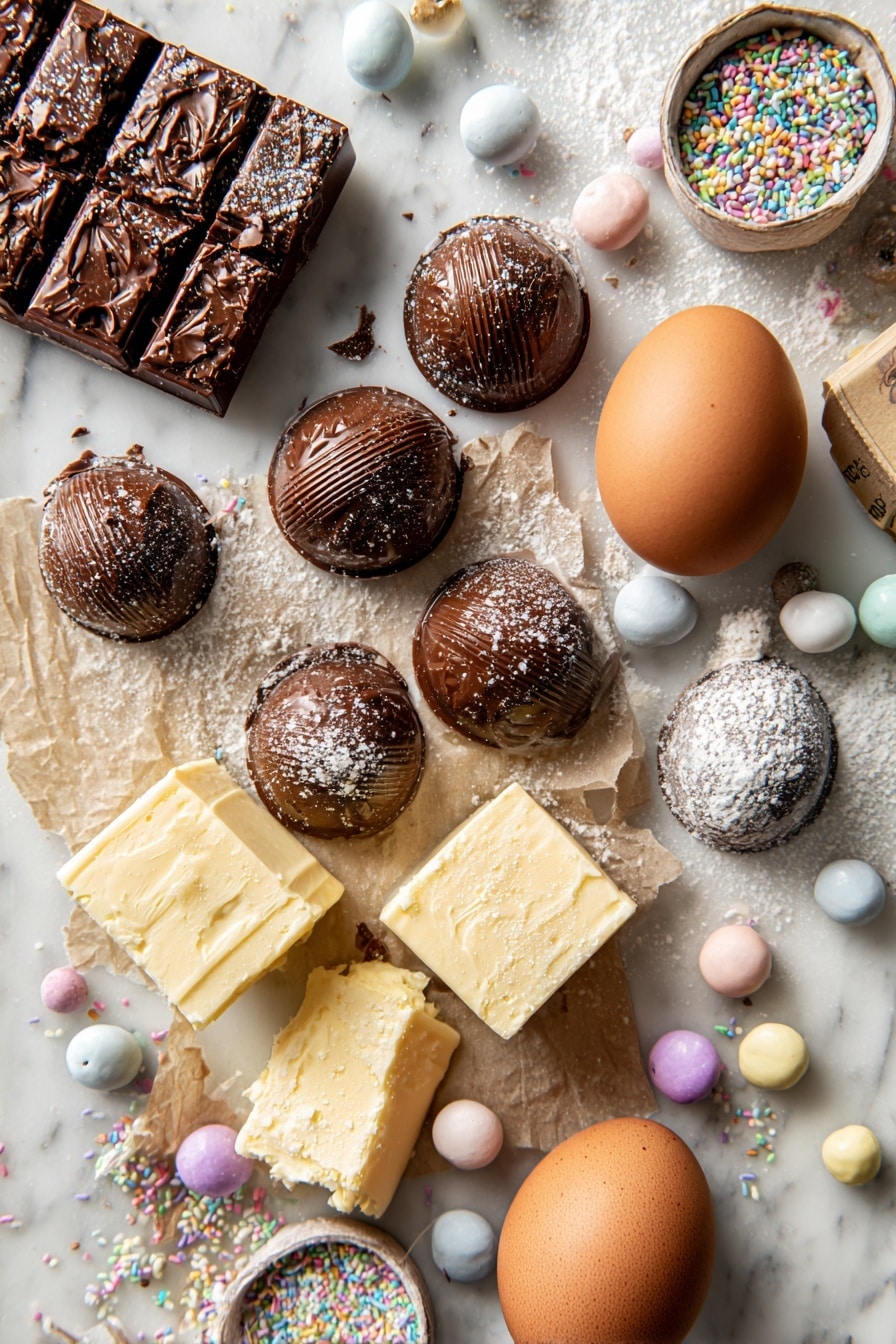
Ingredients & Why They Work
Every ingredient plays a crucial role here, from the cake mix that forms the structure to the cream cheese adding softness. I always recommend using softened butter and cream cheese to make mixing a breeze and achieve that perfect dough consistency.
- Chocolate cake mix: This is the base for the cookie dough—grab your favorite brand for that rich chocolatey flavor without extra measuring stress.
- Cream cheese: When softened, it makes your cookies tender and a little tangy, balancing out the sweetness beautifully.
- Unsalted butter: Softened butter blends smoothly and lets you control the salt level, enhancing the overall taste.
- Large egg: Acts as a binder, making sure your cookies hold together nicely without being dense.
- Granulated sugar or sprinkles: I love rolling the cookie balls in sugar for a bit of crunch and sparkle, but sprinkles add festive fun—both coat the dough and help with outer texture.
- Chocolate kisses (unwrapped): These little gems are the star of the show—pick classic milk chocolate or try peppermint kisses for variety during holidays.
Tweak to Your Taste
I like to mix things up depending on the season or mood. The beauty of this Chocolate Kiss Cookies Recipe is how adaptable it is — you can easily swap sprinkles or even the type of chocolate kiss for different occasions.
- Variation: During Christmas, I swap granulated sugar for festive holiday sprinkles and use peppermint kisses — it just screams holiday spirit and tastes amazing!
- Dairy-free: If you need a dairy-free version, you can substitute vegan cream cheese and vegan butter alternatives. I’ve tried it once with promising results.
- Flavor add-ins: Adding a teaspoon of instant espresso powder into the dough can deepen the chocolate flavor if you’re a mocha fan.
- Nutty twist: Toss in some chopped pecans or walnuts in the dough for a welcome crunch that goes surprisingly well with the chocolate kiss.
Step-by-Step: How I Make Chocolate Kiss Cookies Recipe
Step 1: Mix the soft and creamy base
Start by preheating your oven to 350°F (175°C) and lining your baking sheets with parchment paper—that’s key for easy cleanup and even baking. In a large bowl, beat the softened cream cheese, butter, and egg together until you get a smooth, creamy mix. Don’t rush this part; a few minutes of good mixing makes the dough silky and easy to handle.
Step 2: Add the chocolate cake mix and combine
Next, stir in the entire box of chocolate cake mix. At first, it will look crumbly but keep stirring — eventually you’ll have a soft dough. It’s supposed to be pliable and a bit sticky, perfect for rolling.
Step 3: Roll, coat, and space out
Using a tablespoon scoop or your hands, form dough balls about 1 tablespoon each. Roll each ball in granulated sugar or sprinkles until fully coated. This step adds a nice crunch when baked and a beautiful shimmer or color, depending on what you pick. Place them about two inches apart on your baking sheet — they’ll spread just a little.
Step 4: Bake and press those kisses
Bake for 7 to 9 minutes, which might seem quick but keep an eye on the edges—they should be set while the centers look slightly soft. Once out of the oven, immediately press an unwrapped chocolate kiss gently but firmly into each cookie center. The warmth melts the base just enough for the kiss to stick but not so much it melts into a mess.
Step 5: Cool completely before moving
This is a crucial step I always remind my friends about: leave the cookies on the baking sheet until they’ve fully cooled and the kisses have set again. Moving them too soon will make them lose shape or cause the chocolate to smudge. Patience pays off here!
Pro Tips for Making Chocolate Kiss Cookies Recipe
- Softened Ingredients: Always use room temperature cream cheese and butter to avoid lumps and create a smooth, easy-to-mix dough.
- Rolling the Dough: Slightly wet your hands if dough is sticky—it prevents the dough from sticking while rolling into perfect balls.
- Don’t Overbake: The cookies look slightly soft in the center when ready—this ensures they’ll be delightfully tender and chewy.
- Cooling Patience: Resist the urge to move cookies before the chocolate kisses set completely to keep their signature shape intact.
How to Serve Chocolate Kiss Cookies Recipe
Garnishes
For special occasions, I like to add a light dusting of powdered sugar once the cookies have cooled—that little snowy touch makes them look gorgeous for parties. Sometimes, I swap traditional granulated sugar for rainbow sprinkles before baking, which adds color and a bit of crunch kids absolutely adore.
Side Dishes
These cookies are marvelous on their own, but pairing them with a cold glass of milk or a hot cup of coffee or hot chocolate takes them to the next level. I remember having them on a chilly winter afternoon, dunking one into my latte—it’s cozy heaven.
Creative Ways to Present
For holiday gifting, I love stacking these Chocolate Kiss Cookies Recipe cookies in a pretty tin alternating layers with parchment paper—and topping the box with a festive ribbon. They also look beautiful on a tiered cookie stand at gatherings, each cookie’s shiny kiss catching the light and tempting everyone to dig in.
Make Ahead and Storage
Storing Leftovers
I keep leftover cookies in an airtight container with parchment paper between the layers to prevent sticking. Stored this way, they stay fresh and delicious for 4 to 5 days—sometimes they even taste better the next day when the flavors have melded more.
Freezing
Freezing these cookies works well if you want to stock up. I recommend freezing them in a single layer on a baking sheet first, then transferring to a sealed container or freezer bag. Keep in mind that sprinkles may dull or smudge after thawing, but the cookie and chocolate kiss remain just as tasty.
Reheating
To refresh frozen or leftover cookies, pop them in the microwave for about 10 seconds—enough to soften the cookie and slightly melt the kiss back to that gooey perfection without burning. It’s like enjoying freshly baked cookies all over again!
FAQs
-
Can I use any cake mix for Chocolate Kiss Cookies Recipe?
Absolutely! While I recommend chocolate cake mix for that classic flavor, you can experiment with devil’s food or even fudge cake mixes for a richer taste. Just keep in mind the texture might vary slightly depending on the brand or type you choose.
-
Do I have to use chocolate kisses or can I substitute?
Chocolate kisses are traditional and provide the perfect size and melt, but you can substitute with small chocolate discs, mini peanut butter cups, or even a dollop of Nutella pressed into the center right after baking for a fun twist.
-
How do I prevent the chocolate kisses from melting too much?
Press the chocolate kiss into the center immediately after baking while the cookie is warm but not hot. Then, let cookies cool completely on the sheet without moving them. This method lets the chocolate soften just enough to stick without losing its shape.
-
Can I make the dough in advance and bake later?
You can! Keep the dough refrigerated for up to 24 hours wrapped tightly in plastic wrap. When you’re ready to bake, let it sit at room temperature for about 15 minutes, then shape, coat, and bake as usual.
Final Thoughts
This Chocolate Kiss Cookies Recipe has become a go-to in my home whenever I want a quick, comforting treat without complicated steps or fancy ingredients. The mixture of tender cookie and melty chocolate kiss in the center always brings smiles. I’m excited for you to give it a try and hopefully love it as much as I do—the perfect cookie to share with loved ones or enjoy as your own sweet moment.
Print
Chocolate Kiss Cookies Recipe
- Prep Time: 10 minutes
- Cook Time: 9 minutes
- Total Time: 19 minutes
- Yield: 36 cookies
- Category: Dessert
- Method: Baking
- Cuisine: American
Description
These Chocolate Kiss Cookies are a delightful treat made with chocolate cake mix, cream cheese, and butter, topped with classic Hershey’s chocolate kisses. Soft, chewy, and coated with sugar or sprinkles, they are perfect for any occasion and easy to make in under 20 minutes.
Ingredients
Cookie Dough
- 1 (15.25 ounce) box chocolate cake mix
- 8 ounces cream cheese, softened
- 1/2 cup unsalted butter, softened
- 1 large egg
Coating and Topping
- 1/2 cup granulated sugar or sprinkles for coating
- 36 chocolate kisses, unwrapped
Instructions
- Preheat Oven: Preheat your oven to 350 degrees Fahrenheit and line baking sheets with parchment paper to prevent sticking and allow even baking.
- Mix Dough: In a large bowl, beat the softened cream cheese, unsalted butter, and egg together until the mixture is smooth and creamy. Then stir in the chocolate cake mix until a soft dough forms.
- Form Dough Balls: Scoop about 1 tablespoon of dough and roll it into a ball with your hands. Then roll each ball in granulated sugar or sprinkles until it is fully coated for an extra sweet and decorative touch.
- Arrange Cookies: Place the coated dough balls on the prepared baking sheets, spacing them about 2 inches apart to allow room for spreading during baking.
- Bake Cookies: Bake in the preheated oven for 9 minutes, or until the edges are set but the centers still look slightly soft, ensuring a chewy texture.
- Add Chocolate Kisses: Immediately after removing from the oven, press one unwrapped chocolate kiss into the center of each cookie. The warmth of the cookie will gently melt the base of the kiss to help it adhere.
- Cool Completely: Allow the cookies to cool completely on the baking sheet without moving them to prevent the kisses from becoming misshapen as they firm up.
Notes
- Store the cookies in an airtight container in a single layer or with parchment paper between layers to prevent the chocolate kisses from smudging. They will keep for 4-5 days.
- The cookies can be frozen for up to 3 months. Note that sprinkles may smudge or lose vibrancy after thawing, depending on the type used.
- For best results, ensure the cream cheese and butter are fully softened before mixing to achieve a smooth dough.
- You can substitute sprinkles with extra granulated sugar if sprinkles are not available or preferred.
Nutrition
- Serving Size: 1 cookie
- Calories: 120 kcal
- Sugar: 9 g
- Sodium: 90 mg
- Fat: 7 g
- Saturated Fat: 4 g
- Unsaturated Fat: 2 g
- Trans Fat: 0 g
- Carbohydrates: 14 g
- Fiber: 1 g
- Protein: 1 g
- Cholesterol: 20 mg


